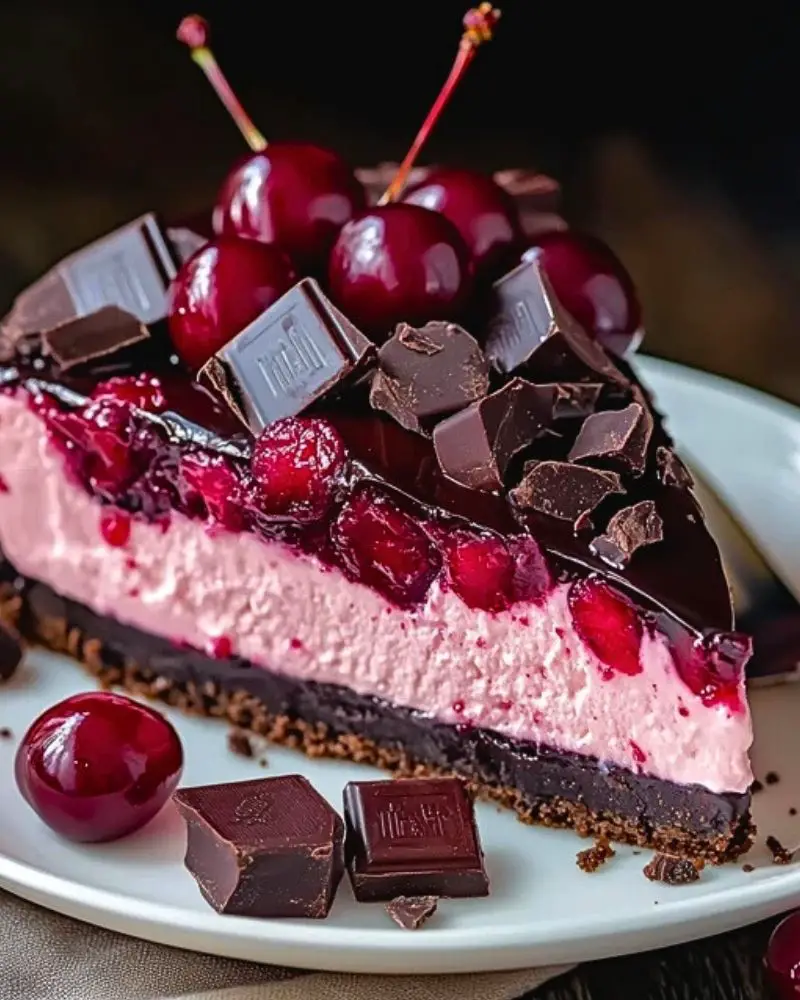
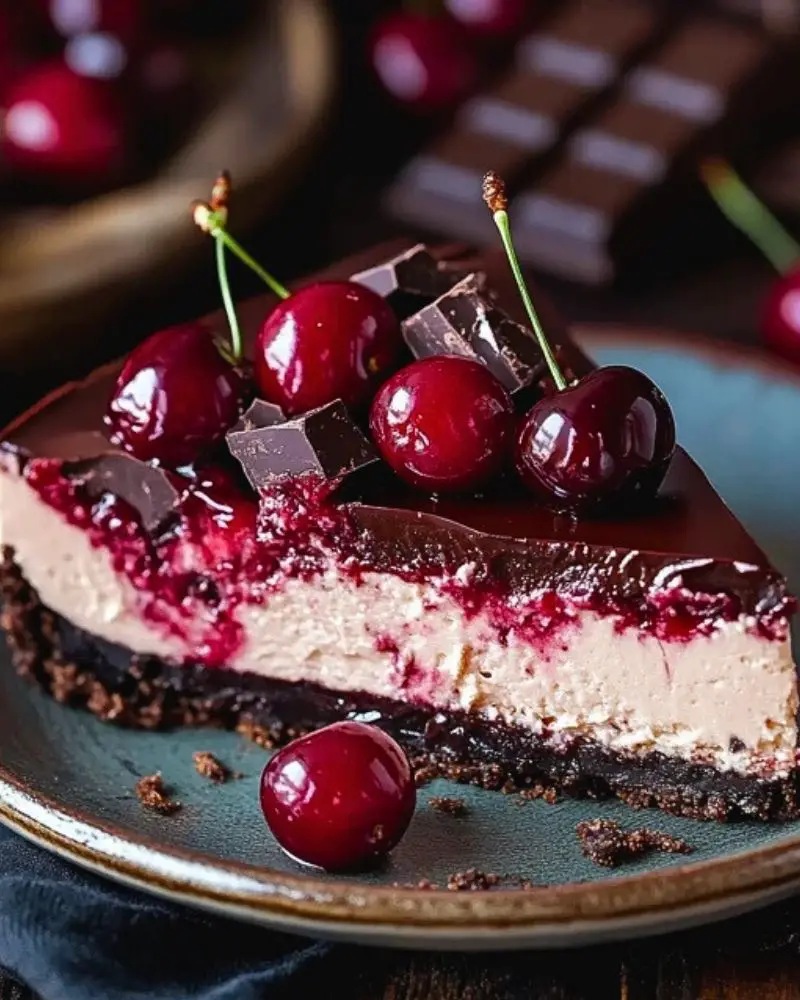
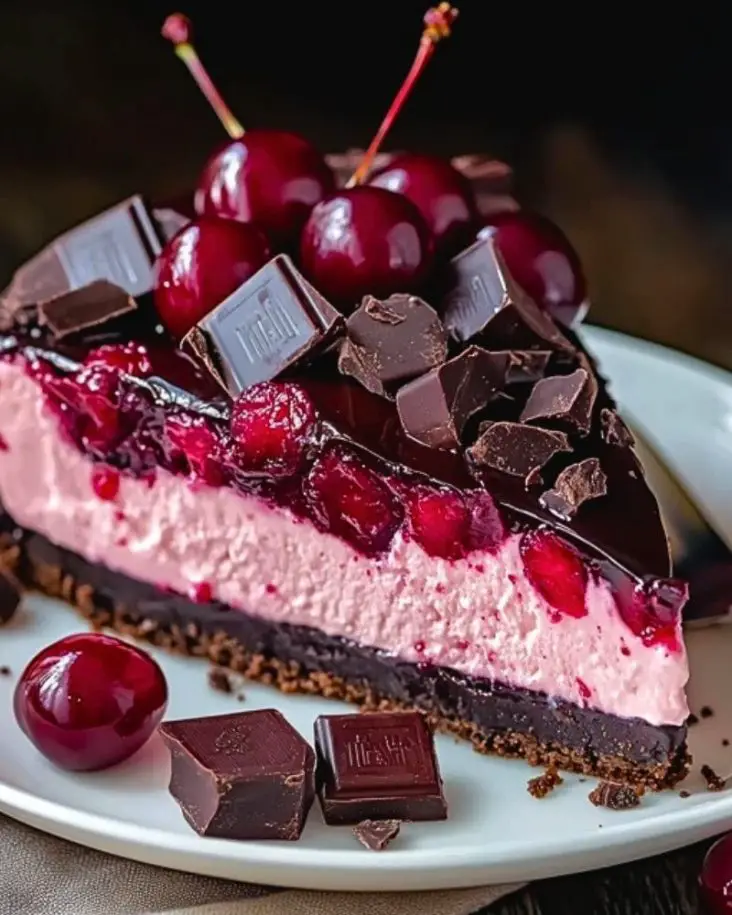
This Cherry Chocolate Cheesecake is a decadent dessert that’s perfect for any special occasion or indulgent treat. Combining rich dark chocolate with tangy cherries and creamy cheesecake, it offers a delightful balance of flavors and textures. The crunchy chocolate crust supports a silky cherry-infused filling, while the glossy cherry topping and chocolate chunks add a luxurious finish. Every bite melts in your mouth with a satisfying blend of sweetness and richness.

Whether you’re hosting a dinner party, celebrating a birthday, or simply craving something divine, this cheesecake is sure to impress. The stunning contrast of deep red cherries and dark chocolate makes it visually striking, while the creamy, melt-in-your-mouth texture will leave guests asking for seconds. It’s a dessert that’s both indulgent and unforgettable.
Ingredients for this Cherry Chocolate Cheesecake
- For the Crust:
- 200g chocolate cookies, crushed
- 100g melted butter
- For the Cheesecake Filling:
- 500g cream cheese, softened
- 200g sugar
- 200g cherry puree or cherry jam
- 200ml heavy cream
- 1 tsp vanilla extract
- For the Topping:
- 150g dark chocolate, melted
- 200g cherries (fresh or frozen)
- Extra chocolate chunks for garnish

Step 1: Prepare the Crust
- Crush the chocolate cookies into fine crumbs using a food processor or by placing them in a sealed bag and crushing with a rolling pin.
- Mix the crushed cookies with melted butter until fully combined.
- Press the mixture firmly into the base of a springform pan to form an even crust. Chill in the refrigerator while preparing the filling.
Step 2: Make the Cheesecake Filling
- In a large bowl, beat the softened cream cheese and sugar together until smooth and creamy.
- Add the cherry puree (or cherry jam), heavy cream, and vanilla extract. Continue mixing until everything is well combined and smooth.
- Pour the filling over the chilled crust and spread evenly.
Step 3: Add the Topping
- Melt the dark chocolate in a microwave or over a double boiler until smooth.
- Pour the melted chocolate over the cheesecake layer, spreading it evenly to create a glossy top.
- Arrange cherries on top, ensuring they’re evenly distributed.
- Sprinkle with chocolate chunks for added texture and richness.
Step 4: Chill and Serve
- Cover the cheesecake and refrigerate for at least 4 hours or ideally overnight to allow it to set completely.
- Once set, carefully remove from the springform pan and slice into generous portions.
Storage Instructions
To keep your Cherry Chocolate Cheesecake fresh and delicious:
- Refrigeration: Store the cheesecake in an airtight container in the refrigerator for up to 5 days.
- Freezing: For longer storage, wrap individual slices tightly in plastic wrap and place them in a freezer-safe container. Cheesecake can be frozen for up to 2 months. Thaw overnight in the fridge before serving.
Estimated Nutrition
Per slice (based on 10 servings):
- Calories: ~450 kcal
- Carbohydrates: 45g
- Protein: 6g
- Fat: 28g
- Saturated Fat: 16g
- Cholesterol: 80mg
- Sodium: 200mg
- Sugar: 35g
Frequently Asked Questions
1. Can I use frozen cherries instead of fresh?
Yes! Frozen cherries work perfectly. Just be sure to thaw and drain any excess liquid before adding them to the cheesecake.
2. Can I make this cheesecake without a springform pan?
A deep dish or pie pan can work as an alternative, but a springform pan makes it easier to release the cheesecake cleanly.
3. What type of chocolate works best for the topping?
Dark chocolate with at least 70% cocoa provides the richest flavor, but semi-sweet or milk chocolate can be used for a milder taste.
4. How long should I chill the cheesecake before serving?
For best results, chill for at least 4 hours, but overnight is recommended for optimal texture.
5. Can I make this cheesecake ahead of time?
Absolutely! This cheesecake is ideal for preparing a day in advance, making it perfect for gatherings or special events.
6. What’s the best way to slice the cheesecake neatly?
For clean slices, dip a sharp knife in hot water, wipe dry, and cut. Repeat this for each slice.
7. Can I substitute the chocolate crust for something else?
Yes, a graham cracker crust or digestive biscuit base works well if you prefer a less chocolate-heavy option.
8. How can I enhance the cherry flavor?
Adding a splash of cherry liqueur or a few drops of cherry extract to the filling can intensify the flavor beautifully.

Cherry Chocolate Cheesecake
- Prep Time: 30 minutes
- Chilling Time: 4 hours (or overnight)
- Total Time: 4 hours 30 minutes
- Yield: 10 servings 1x
- Category: Dessert
Description
Indulge in the ultimate dessert experience with this Cherry Chocolate Cheesecake. This rich and creamy cheesecake combines the irresistible flavors of velvety chocolate, luscious cherries, and a smooth, decadent filling. Perfect for celebrations, dinner parties, or simply satisfying your sweet tooth, this cheesecake offers a delightful contrast of textures and flavors. The crunchy chocolate cookie base pairs beautifully with the creamy cherry-infused cheesecake, while the glossy chocolate topping and juicy cherries complete the masterpiece. Whether you need an easy dessert idea or an impressive showstopper, this recipe is sure to become a favorite.
Ingredients
For the Crust:
200g chocolate cookies, crushed
100g melted butter
For the Cheesecake Filling:
500g cream cheese, softened
200g sugar
200g cherry puree or cherry jam
200ml heavy cream
1 tsp vanilla extract
For the Topping:
150g dark chocolate, melted
200g cherries (fresh or frozen)
Extra chocolate chunks for garnish
Instructions
- melted butter. Press the mixture firmly into the base of a springform pan. Chill in the refrigerator.
- Make the Filling: In a large bowl, beat softened cream cheese and sugar until smooth. Add cherry puree, heavy cream, and vanilla extract. Mix until fully combined. Pour the filling over the chilled crust and spread evenly.
- Add the Topping: Melt the dark chocolate and pour it over the cheesecake layer. Arrange cherries on top and sprinkle with chocolate chunks.
- Chill and Serve: Cover the cheesecake and refrigerate for at least 4 hours (or overnight) until fully set. Carefully remove from the springform pan, slice, and enjoy!


